Ams/_jTn8-0VE5k/s1600/WP_20140622_065.jpg" imageanchor="1" style="margin-left: 1em; margin-right: 1em;">
Our DIY Chicken Tractor

I won't pretend to be a master builder. I would have never been able to accomplish this quality of work without the generous guidance and assistance of my Uncle Scott. He also supplied a lot of the wood and other parts - and of course all the tools!
Bottom Enclosure
This is the frame of the bottom enclosure. On one end is a set of tires on a rod with a lever. When you flip the lever it jacks the coop up off the ground. Then you lift from the other side and easily wheel the tractor across the lawn. I can lift it by myself!


From the Bottom Up
Here you can see my very favorite part of the coop... the ramp! I'll go ahead and let you in on a secret, it is the only part of the coop that I made all by myself. The men did most of the heavy lifting. The ramp goes from the lower enclosure and up into the coop. At night we will lift the ramp and it will close off the upper coop to keep the hens safe from raccoons and other predators.
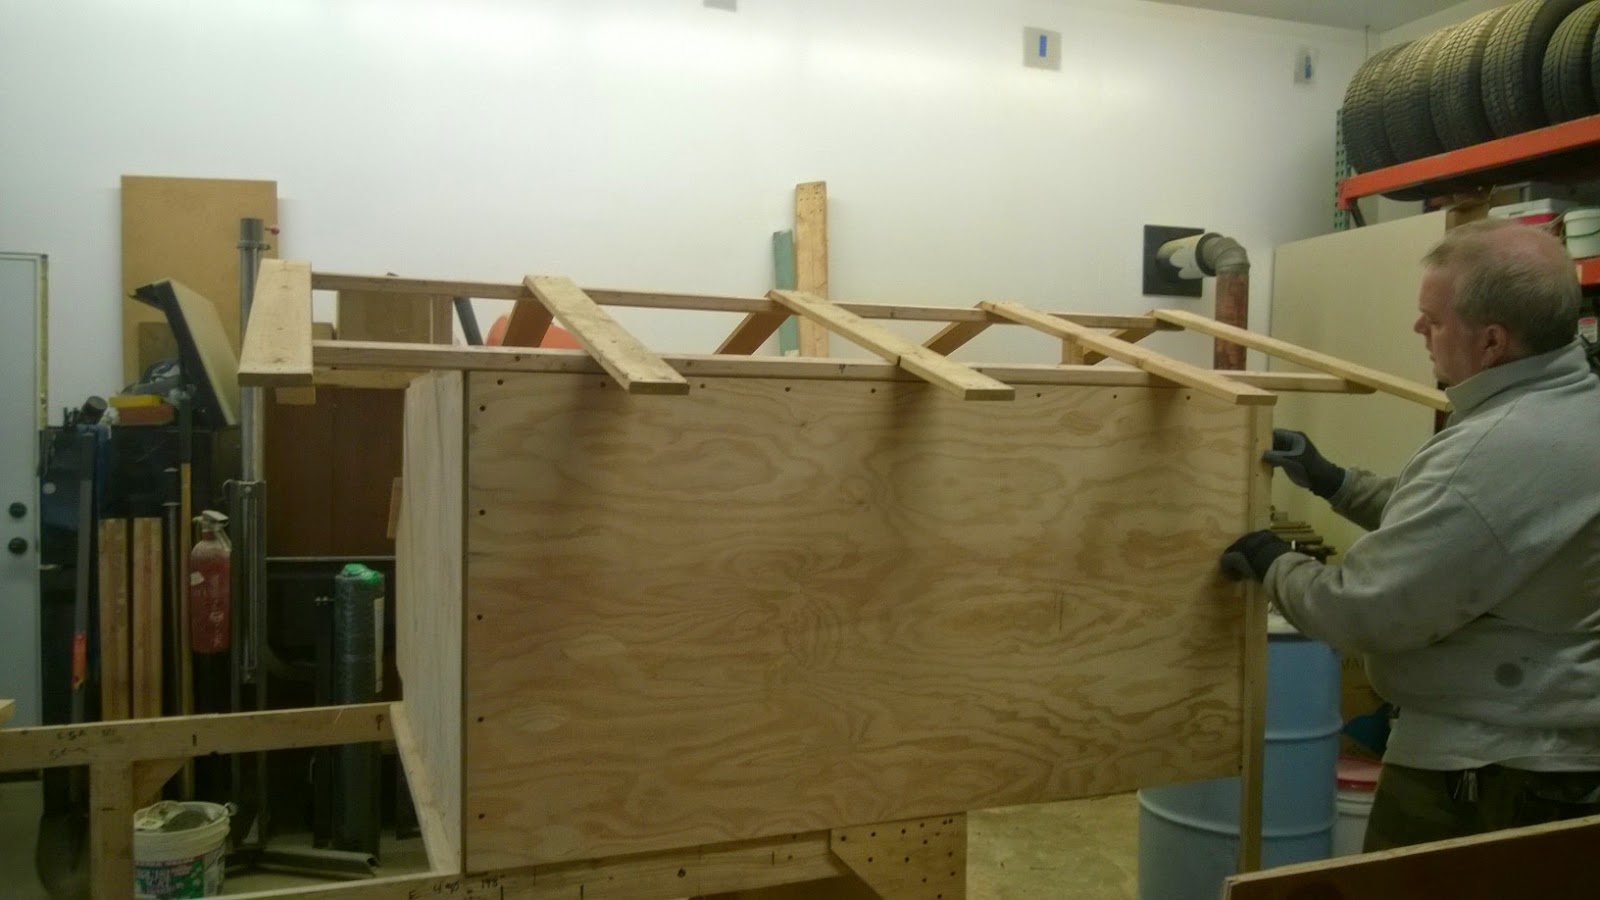
Upper Level
Here are some shots of the upper level of the coop. We put on a separate section for the nesting boxes with a lid so we can open it and easily access the eggs. Four nesting boxes should accommodate about 12 hens. We are building the coop for 10 hens so it should be plenty of space. We are installing a perch on the left side for them to roost on. You can see them installing the coop on the lower enclosure. They attached it at just enough point to make a solid sturdy structure but keep it easy to remove for transportation.


Painting
It turns out painting is hard work. This is where I helped out the most. Emjay and I painted for days! In order to waterproof the wood we put two coats of primer on before we even got to the colors. Scott had some primer that he let us use.

We painted it a pale green with a dark magenta trim. Two coats each time!


Roofing
We decided on plastic roofing with space left between the roof and the coop. We figured this would give the chickens plenty of ventilation, keep the rain and wind out, be easiest to clean and would keep the tractor from getting too heavy.


Fencing
We added plastic coated wiring to fence in the lower enclosure.

Doors
We decided to add two doors for the lower enclosure so that any part of it could be accessed. We went back and forth on where to put the door and finally decided making the whole top a door would give us the most flexibility.


Final Product
Finally, we added a PVC gravity feeder that we made out of PVC pieces and put their waterer we previously made for their old enclosure. We put bedding in their nesting boxes, moved it out to the grass and put the hens in!


Our goal was to get the hens in their chicken tractor by summer... and with perfect timing, we finished it on the first official day of summer!
No comments:
Post a Comment